


The Laing D5 is a water pump that is so good it has been used for years, decades even, and is still the pump inside rebranded versions like the Swiftech MCP-655 and others. I’m reusing the Laing D5 Vario and Swiftech MCP-655 in my new build, but wanted to have an all-black look to match the black theme, rather than the black and red wires.
MDPC-X Blackest Black sleeving added
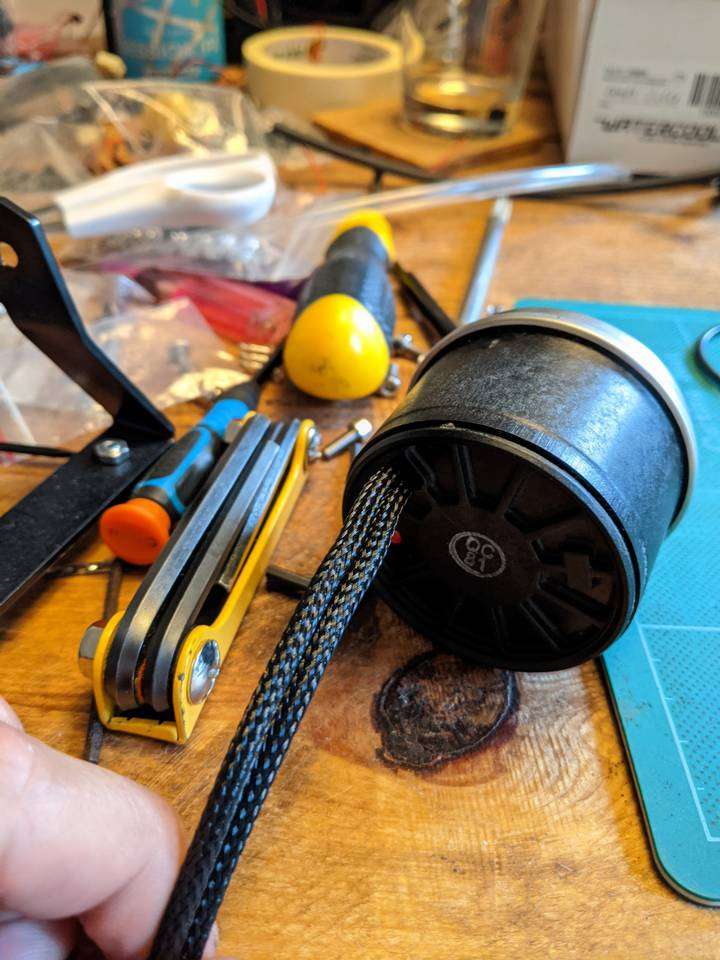
In the picture above you can see the back cover is off, and sleeved cables pass through a hole in the cover. This is the original hole, but I enlarged the hole using a round needle file to allow for the extra width with the sleeving. On the end of the sleeving I used self-adhesive heatshrink to hold the sleeving in place at this end.
Terminating the other end
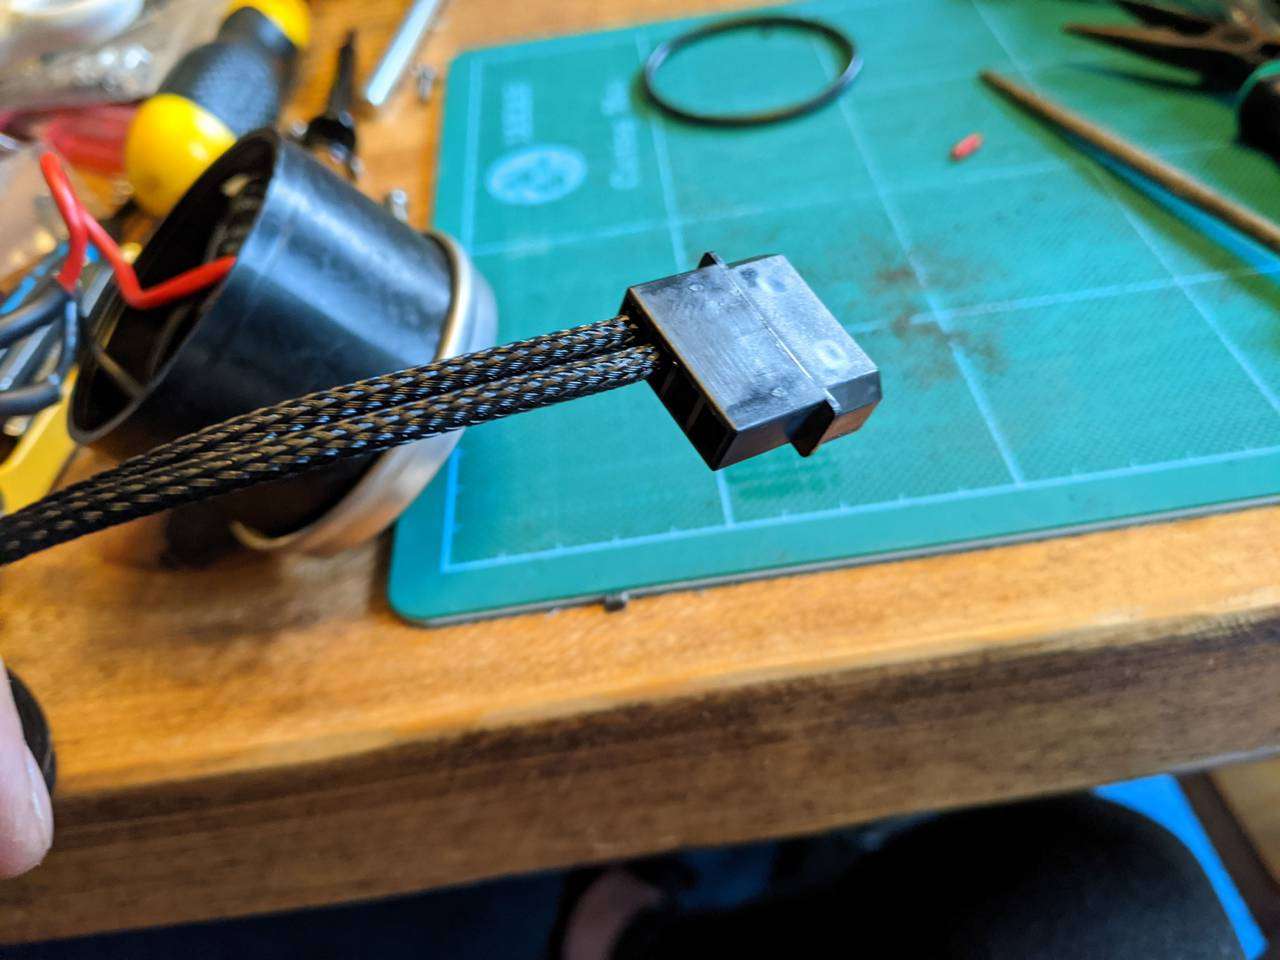
I used the same heatshrink-less technique that I used to sleeve my PSU on the end with the “fat Molex” 4-pin connector. I bought black connectors to replace the original translucent white ones.
Pump re-assembled
With the sleeving done, the back cover is just pushed back on and that’s that for the pump bit.
Pump installed into reservoir
These days, the Laing D5 pump isn’t used with its original top (that is made for use with soft tubing and a hose clamp) and is instead used with a D5 top or a reservoir designed to house the D5 pump. I chose the Watercool Heatkiller Tube 200 D5 reservoirs for their black frame and glass reservoir.
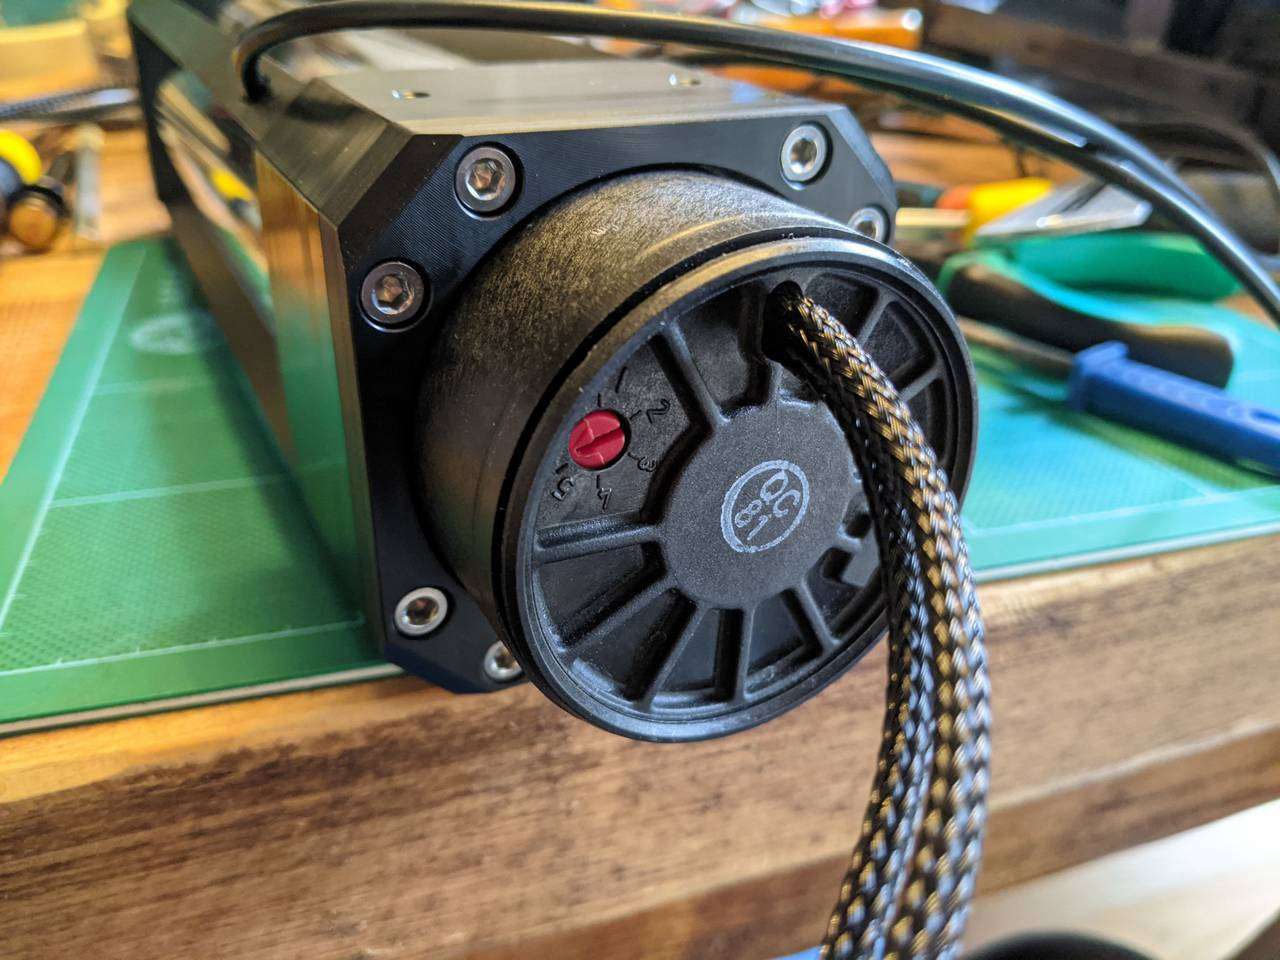
Here is one of the D5 pumps installed into the base of the reservoirs. It really looks like part of the same component now that it is all black.
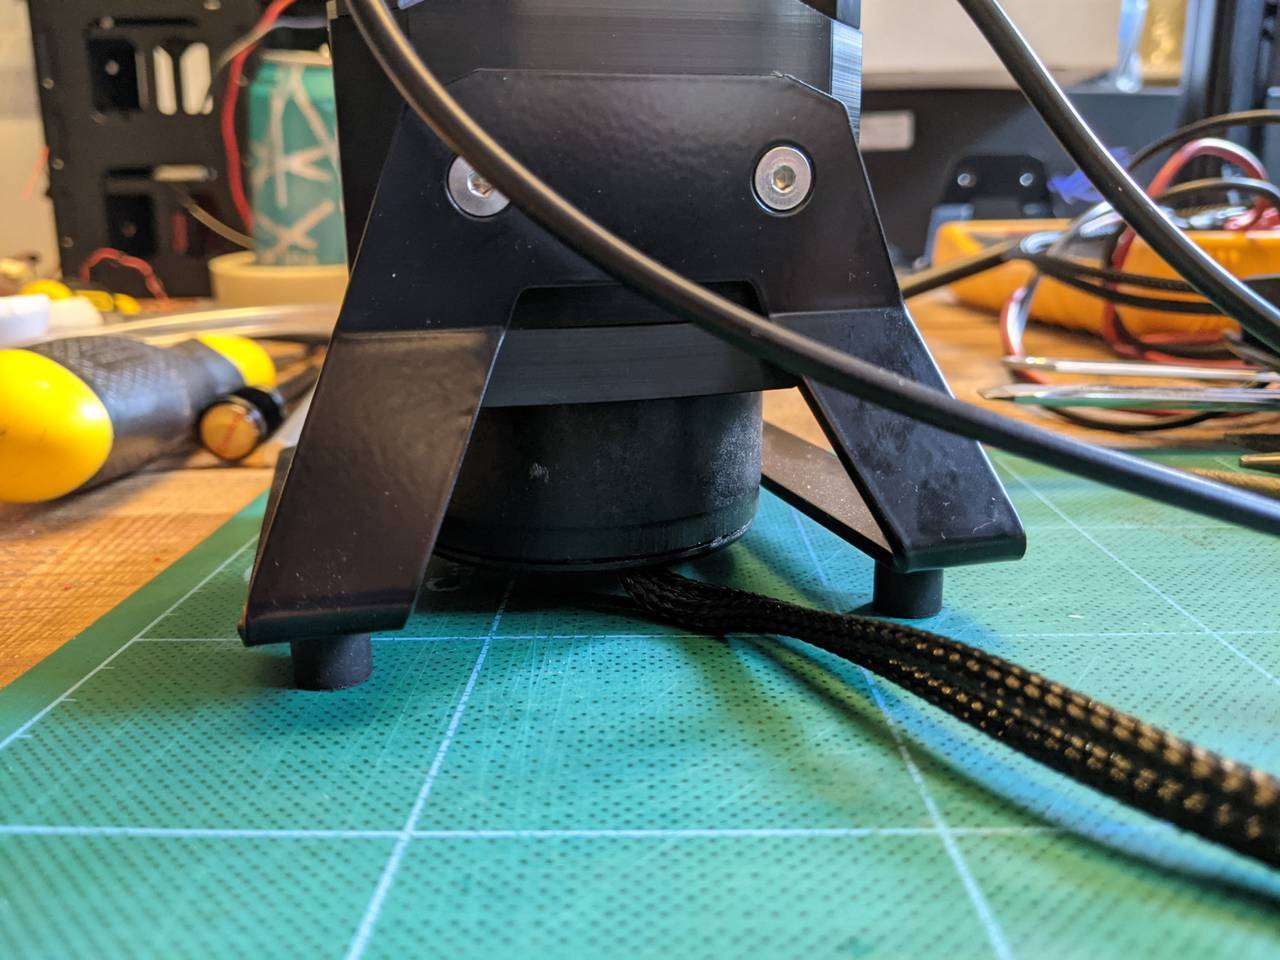
With the reservoir’s bracket and vibration isolating feet attached, there’s not a lot of room under the pump, but there’s just enough for the cables to exit.
Test fitting pump-reservoir combos in the case
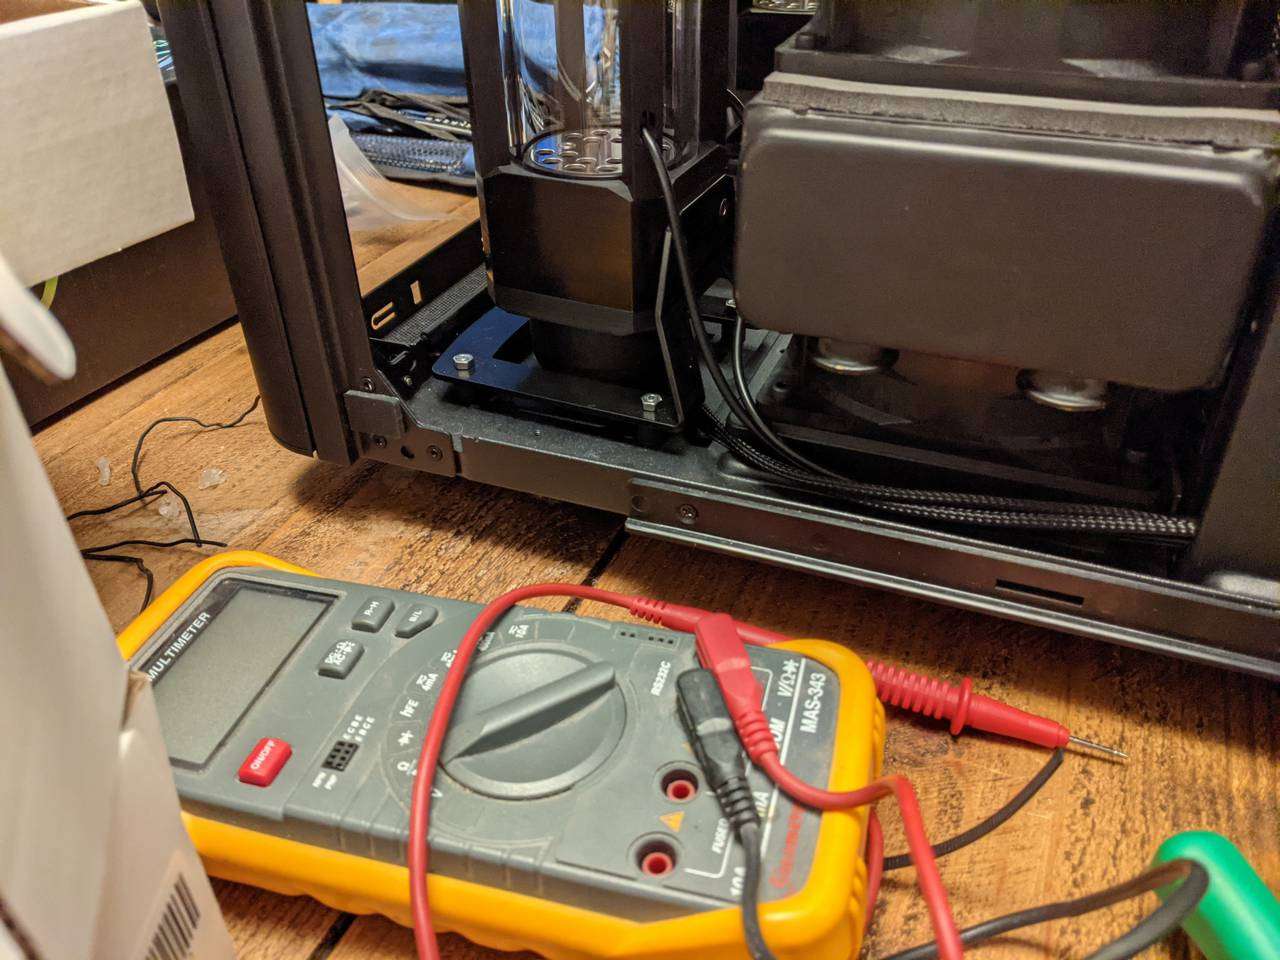
As the pumps were sleeved and installed into the reservoir, I could test fit them in the case to check for cable runs and looking at where to drill holes for screws on the bottom of the bracket feet.
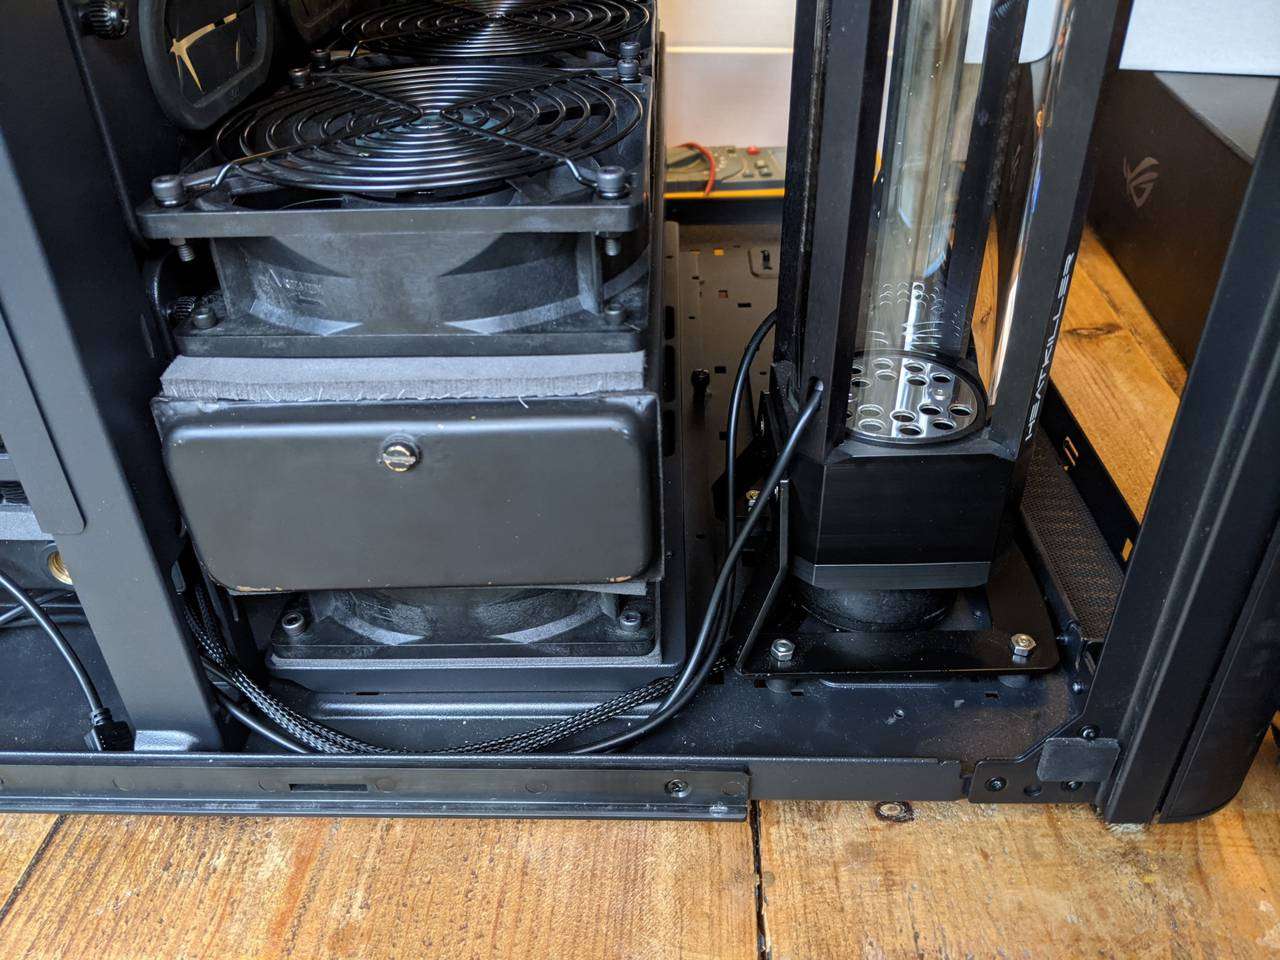
Here’s the pump-reservoir for the GPU loop.
And on the other side is the one for the CPU loop.
The unsleeved black cables to the reservoir are for A-RGB strips inside the reservoir frame. I think these along with the sleeved pump cables look respectable enough to have on display, and they run the same way to the rear chamber of the case anyway, so it’s just a single bundle of cables really.
This was the last major bit of work to prepare the components for the new build. Up next is where I continued to test fit the components to mod the case to secure these pump-reservoirs, and add holes for water fittings and fan exhausts.
Product Links
You can support this website by purchasing items via the following Amazon Associate links.