


I’m reusing some 120x120x38mm FBA12G12M fans made by Panaflo (and then later NMB-MAT) for my new build as they have higher static pressure than regular 25mm thick fans and are therefore ideal for use with the restrictive airflow of a water cooling radiator. Over the years I have cut the fan wires down to suit past builds and they were all too short to use in the new build. Rather than joining on lengths of additional wire with solder joints, I decided to have a go at replacing the wires instead.
Remove the connector
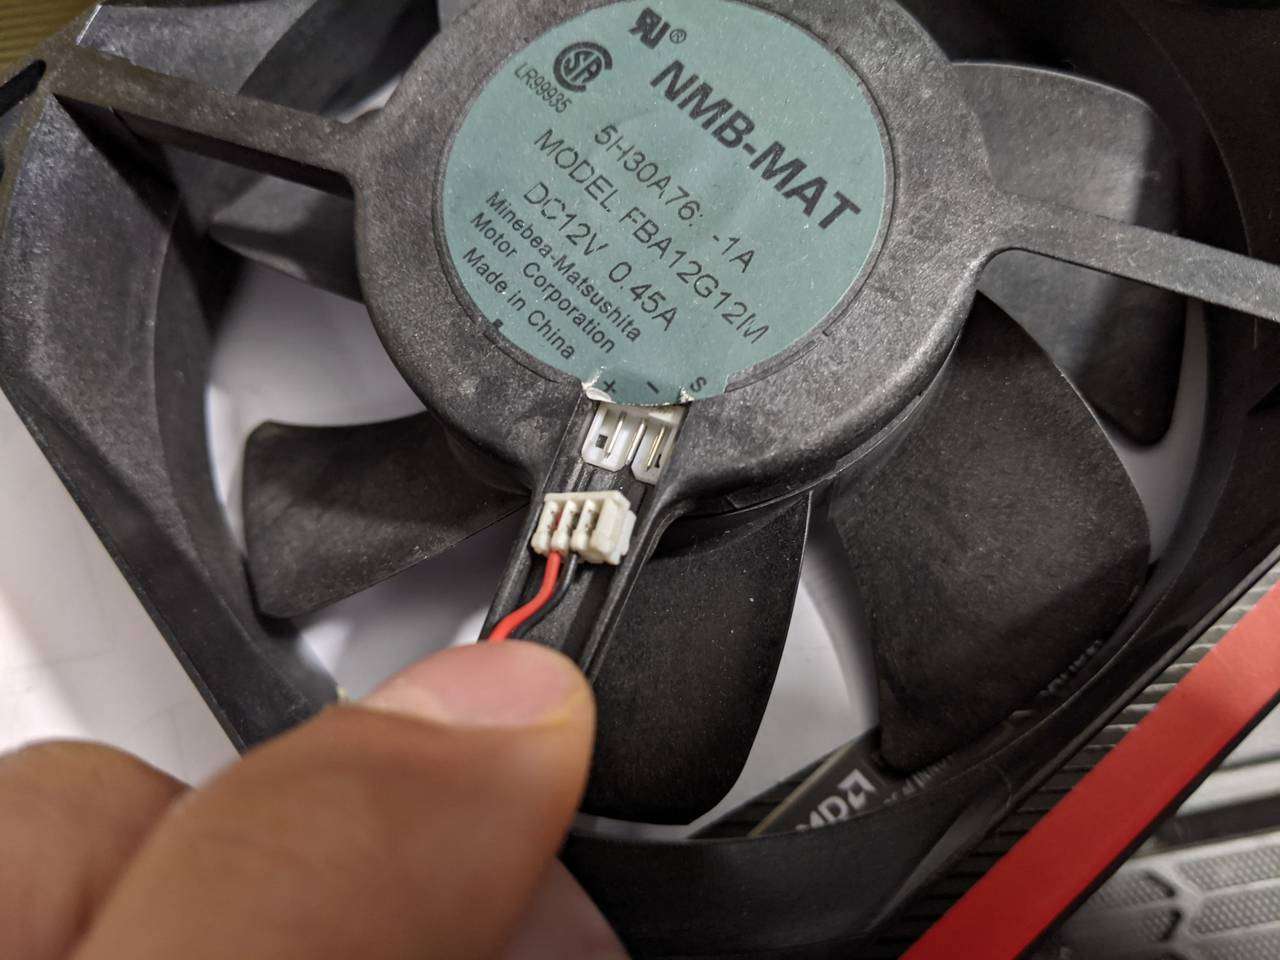
The fan motor hub on these fans has a removable connector that just pulls out. In the datasheet, it mentions that the connector is made by AMP with part number 173977-3.
The connector has integrated terminals and you can only see the holes at the connection side.
The bottom just has raised sections to line up to the male connector at the fan motor hub.
Replace the wires
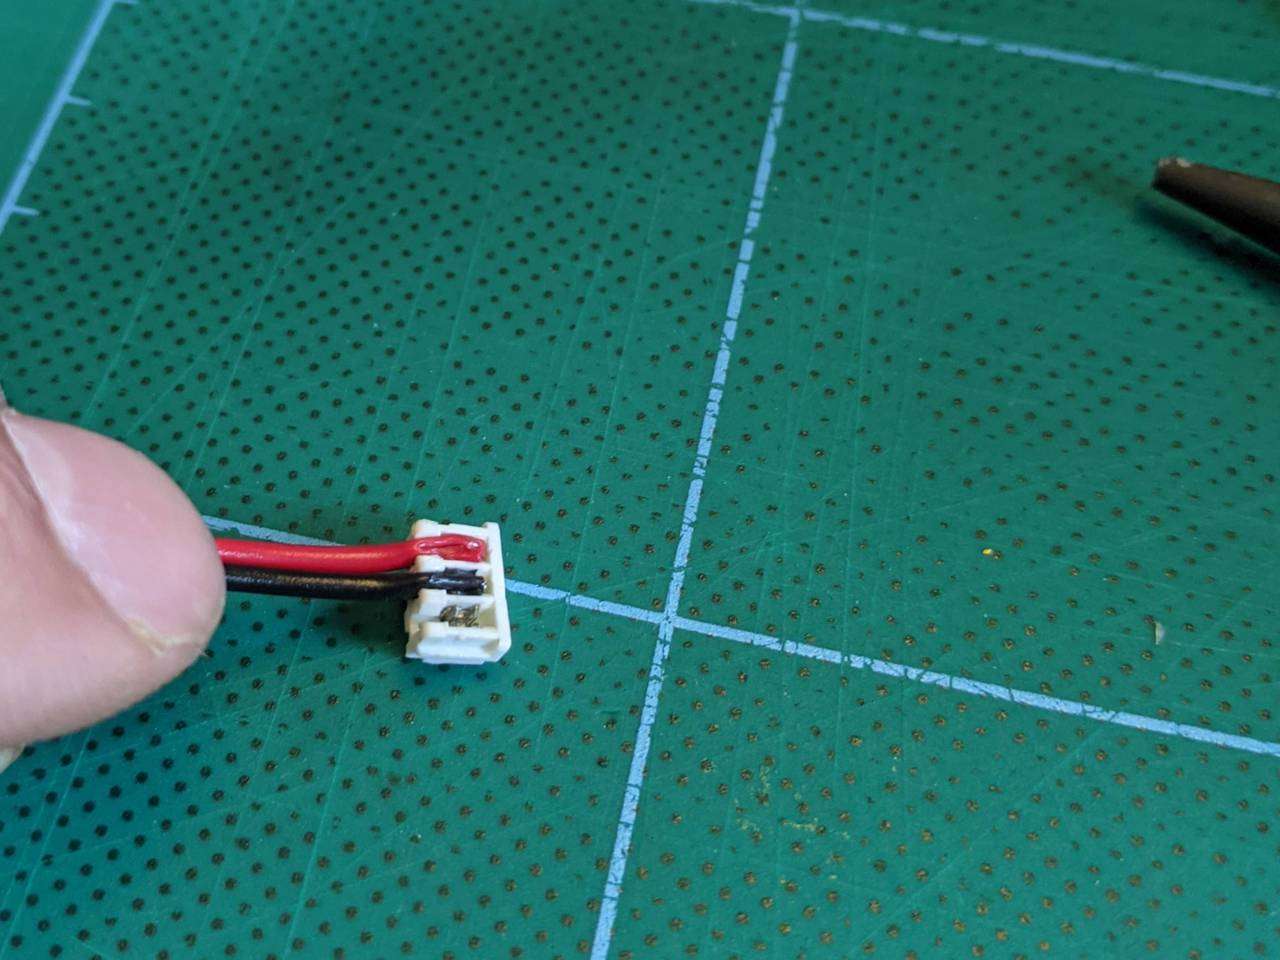
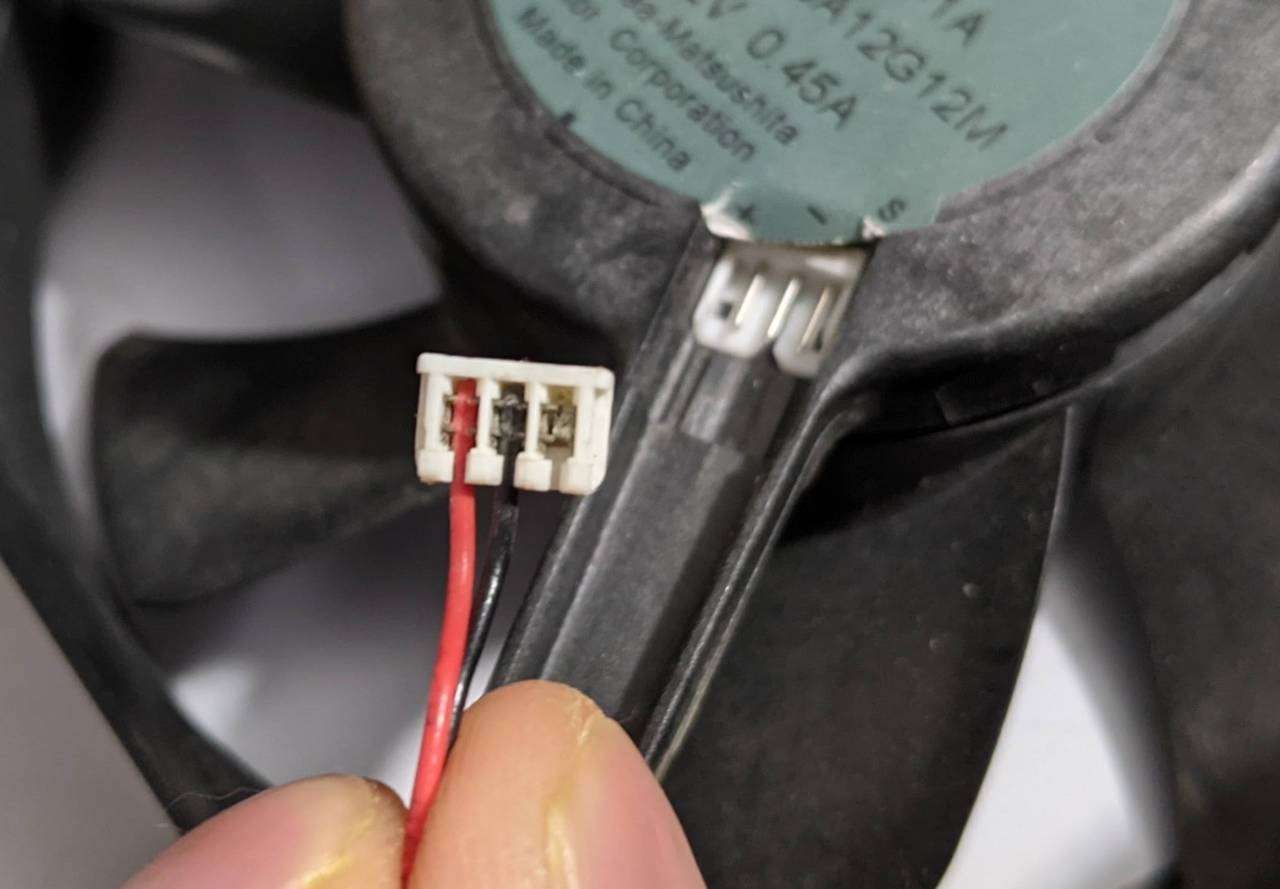
I pulled the original wires up from the connector, and then “punched down” some new wires using a smallish flat-bladed screwdriver.
Check the wires are connected
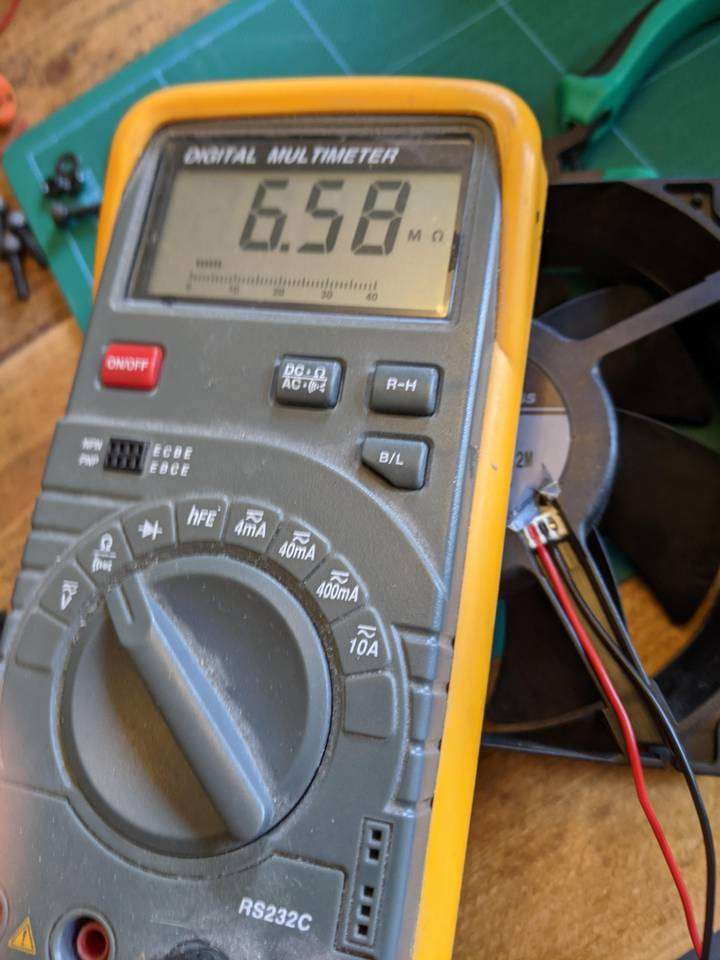
To make sure the new wires were making decent contact with the terminals, I measured the resistance between the wires at the other end. Several mega Ohms seemed like a reasonable amount for a fan motor, and each of the Panaflo fans were roughly the same, the NMB-MAT fans were also the same as each other, but a different value to the Panaflo ones.
Terminate the bare wires
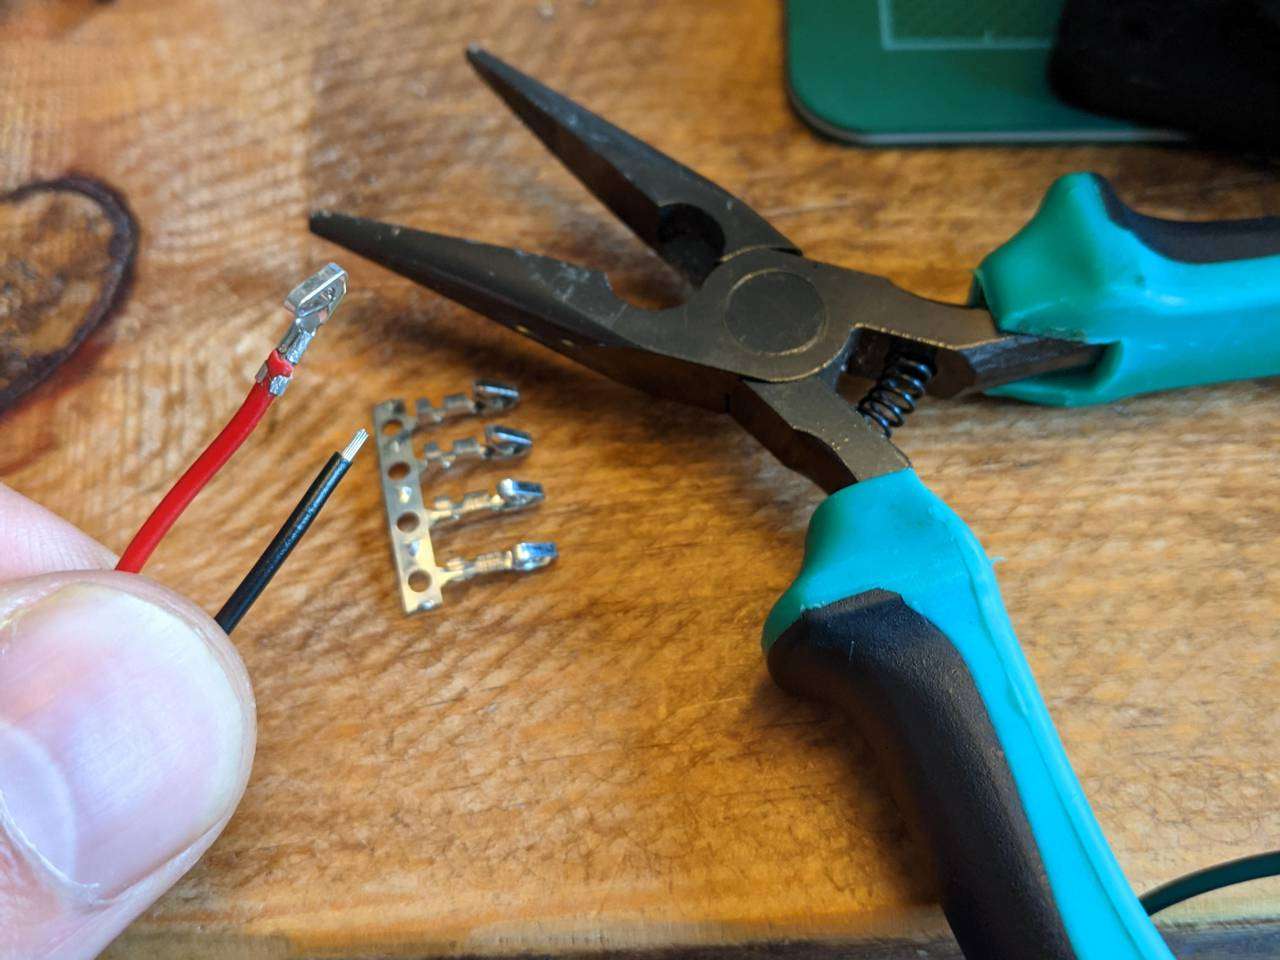
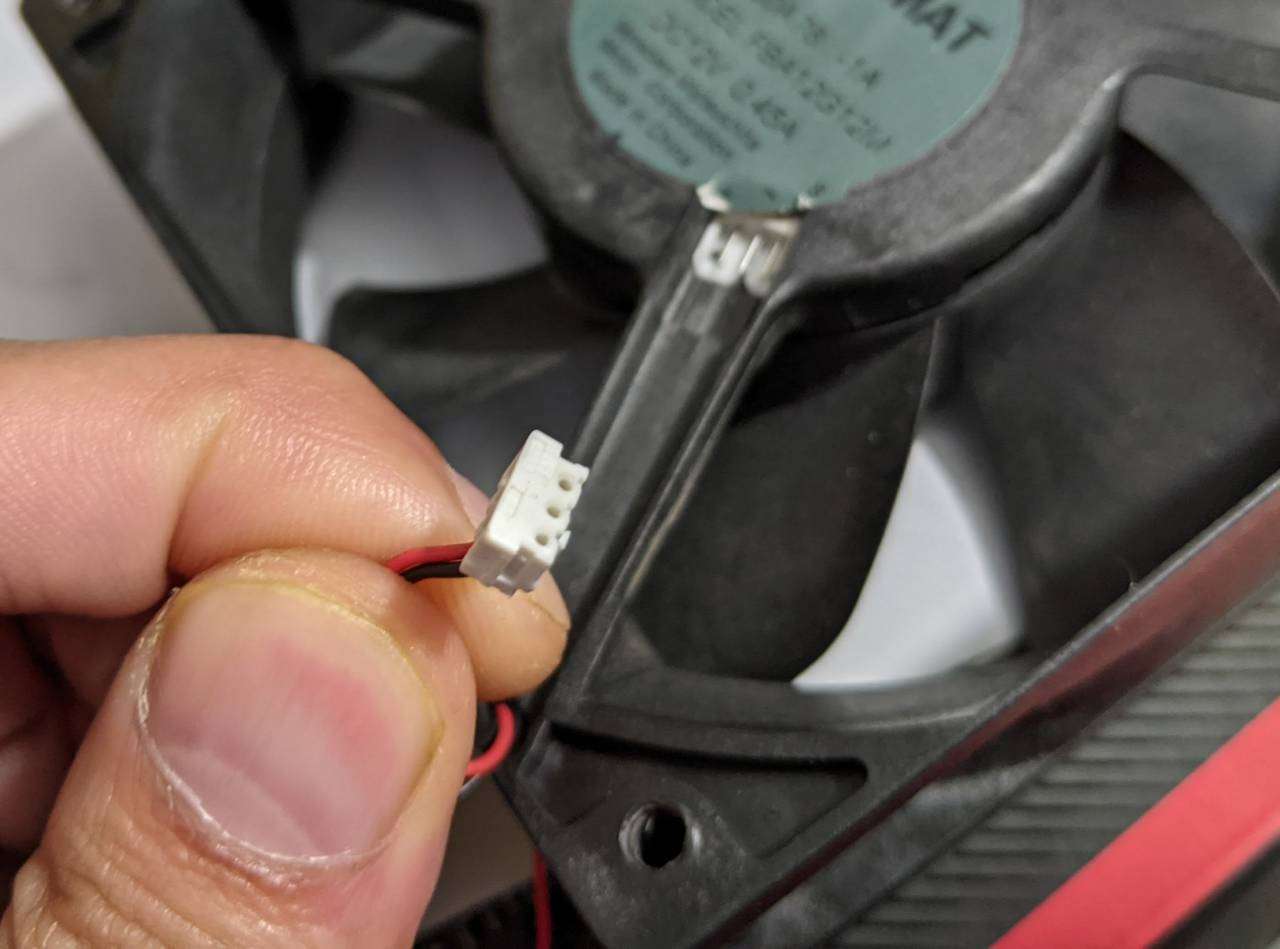
These fans just have two wires, there is no speed sensing RPM wire or PWM control. Here, I’ve crimped on a positive terminal using snipe nose pliers as the crimping tool I have doesn’t really work with these tiny terminals.
It’s pretty easy to crimp the terminals with pliers, you just strip a bit of insulation off to fit in one set of the fold over “wings” (I’m sure these have a proper name!)
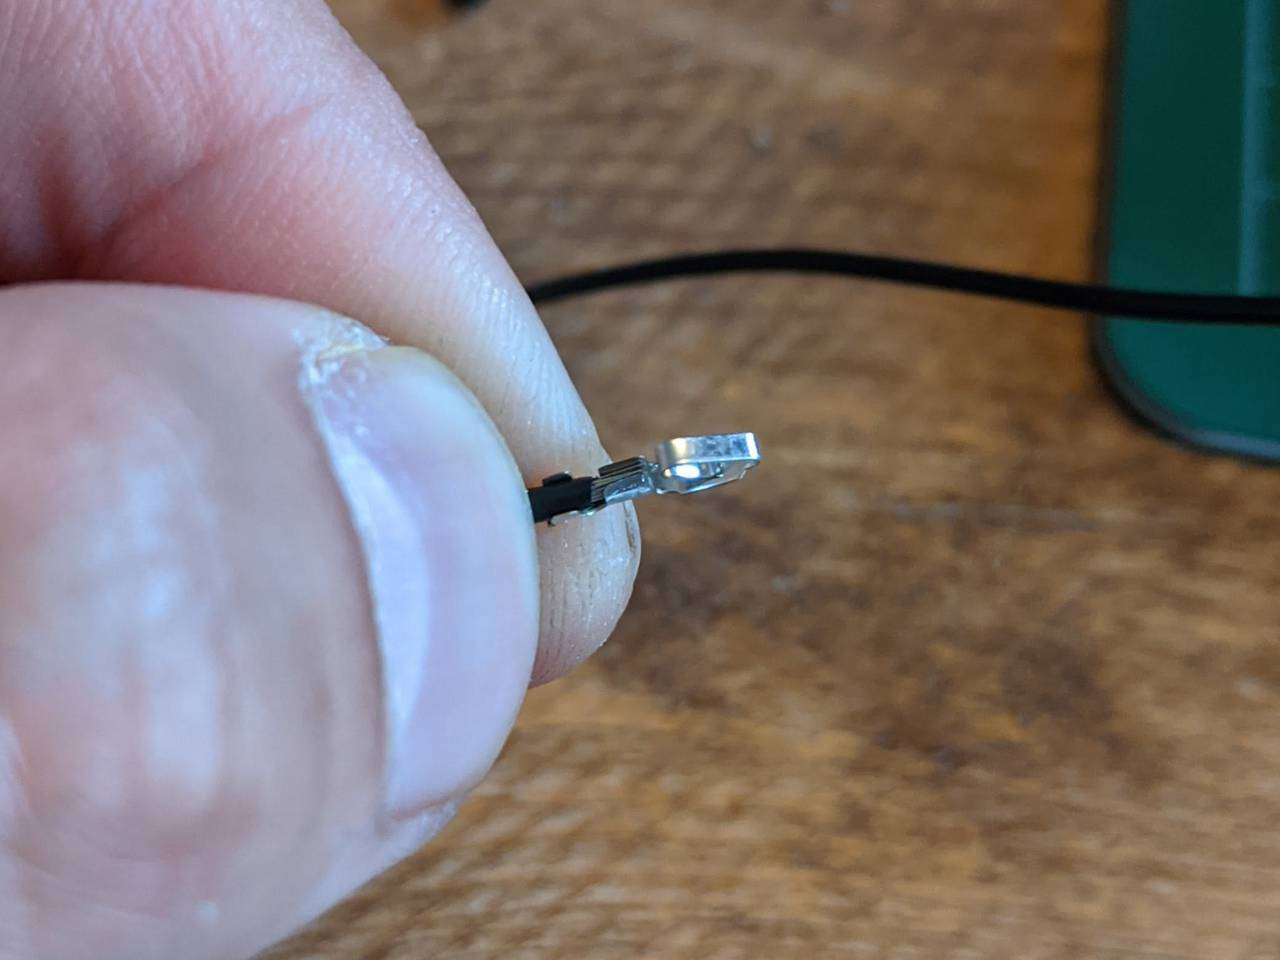
Then you can nip over one of the terminal wings over the bare cable.
And repeat for the other side over the bare cable.
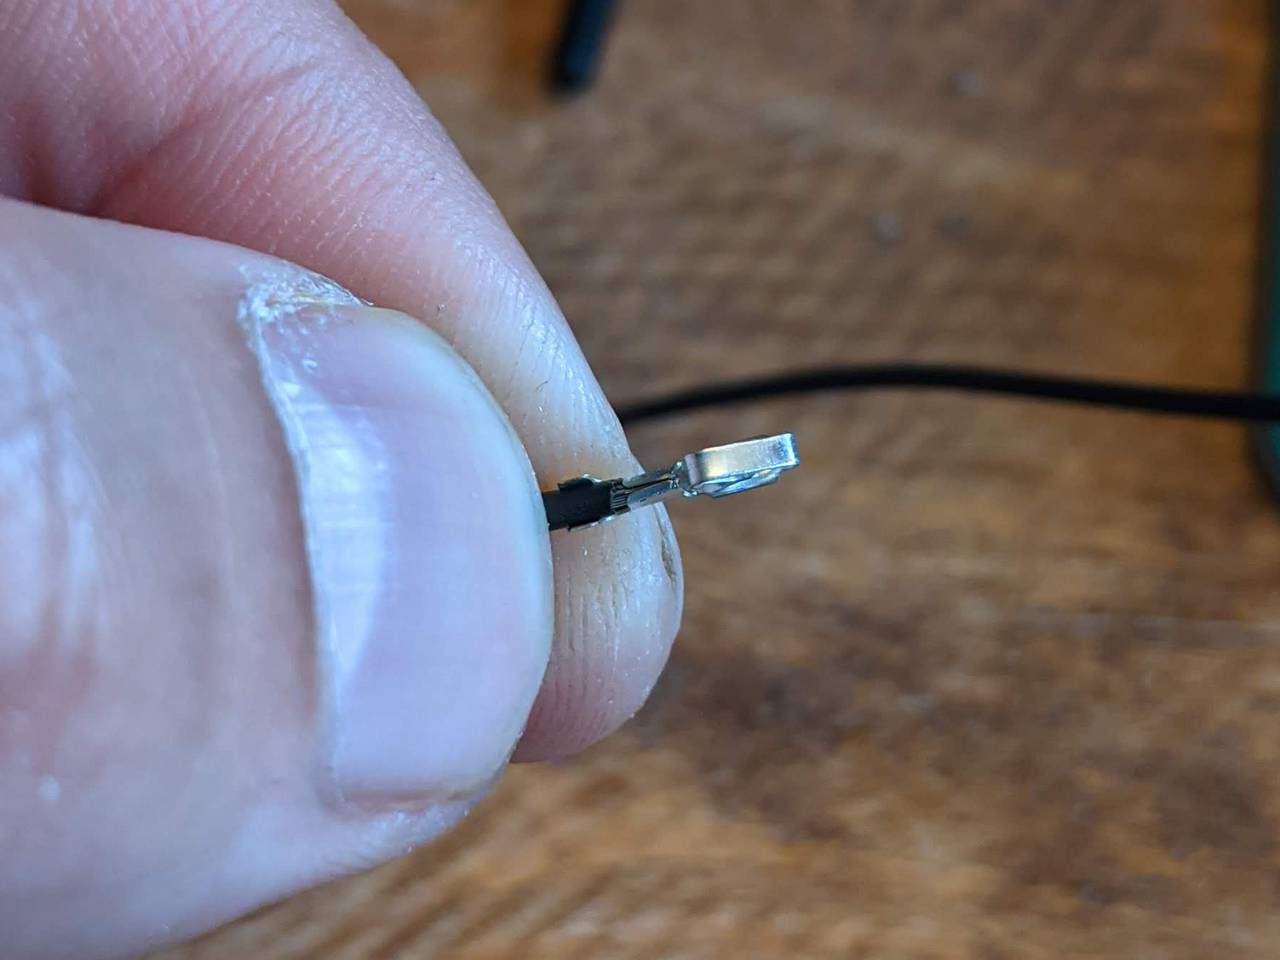
The bit over the insulation is just the same method. Then you just push the terminals into the 3-pin connector housing.
When it goes wrong
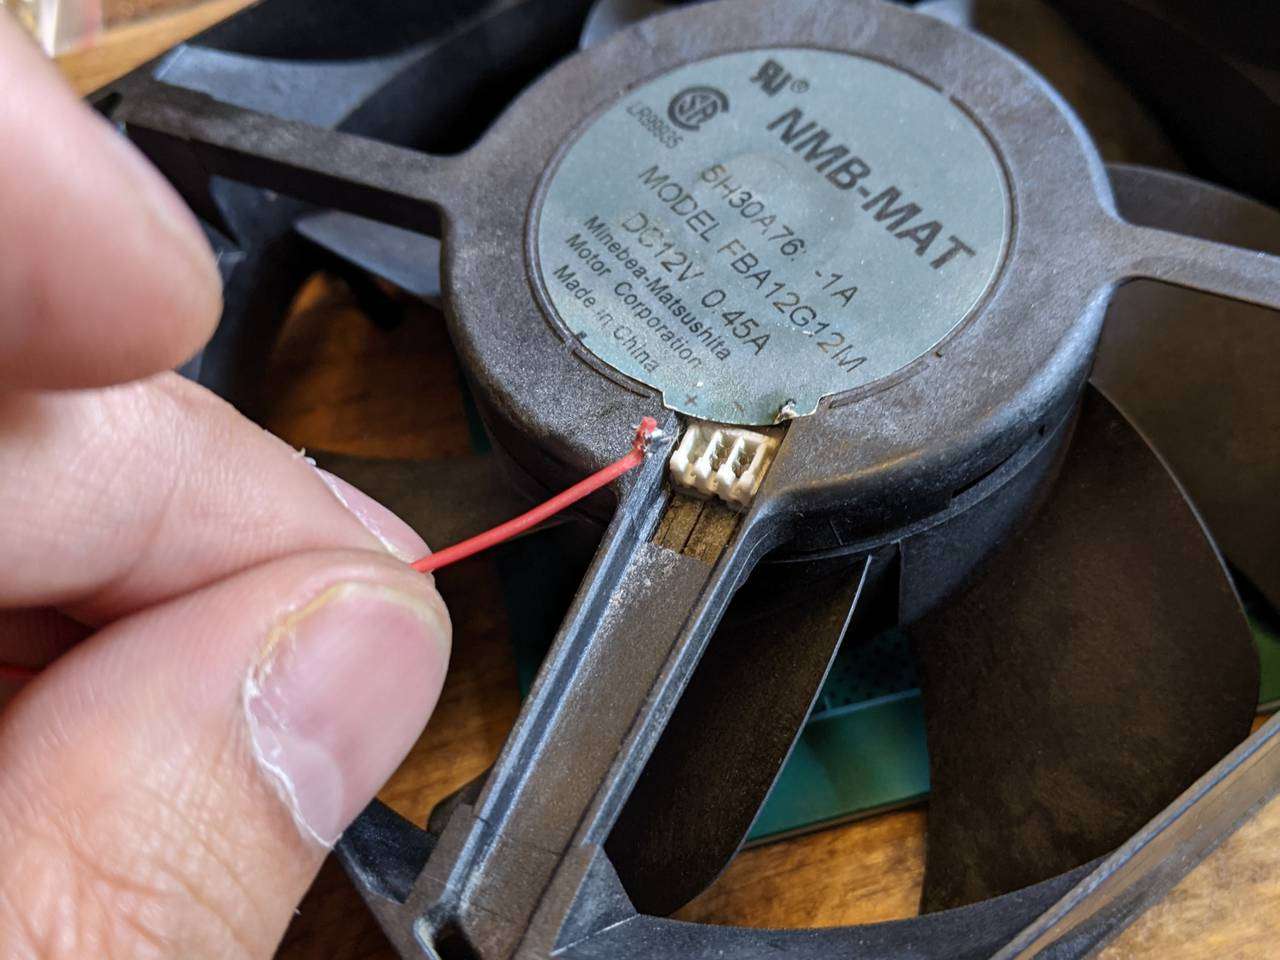
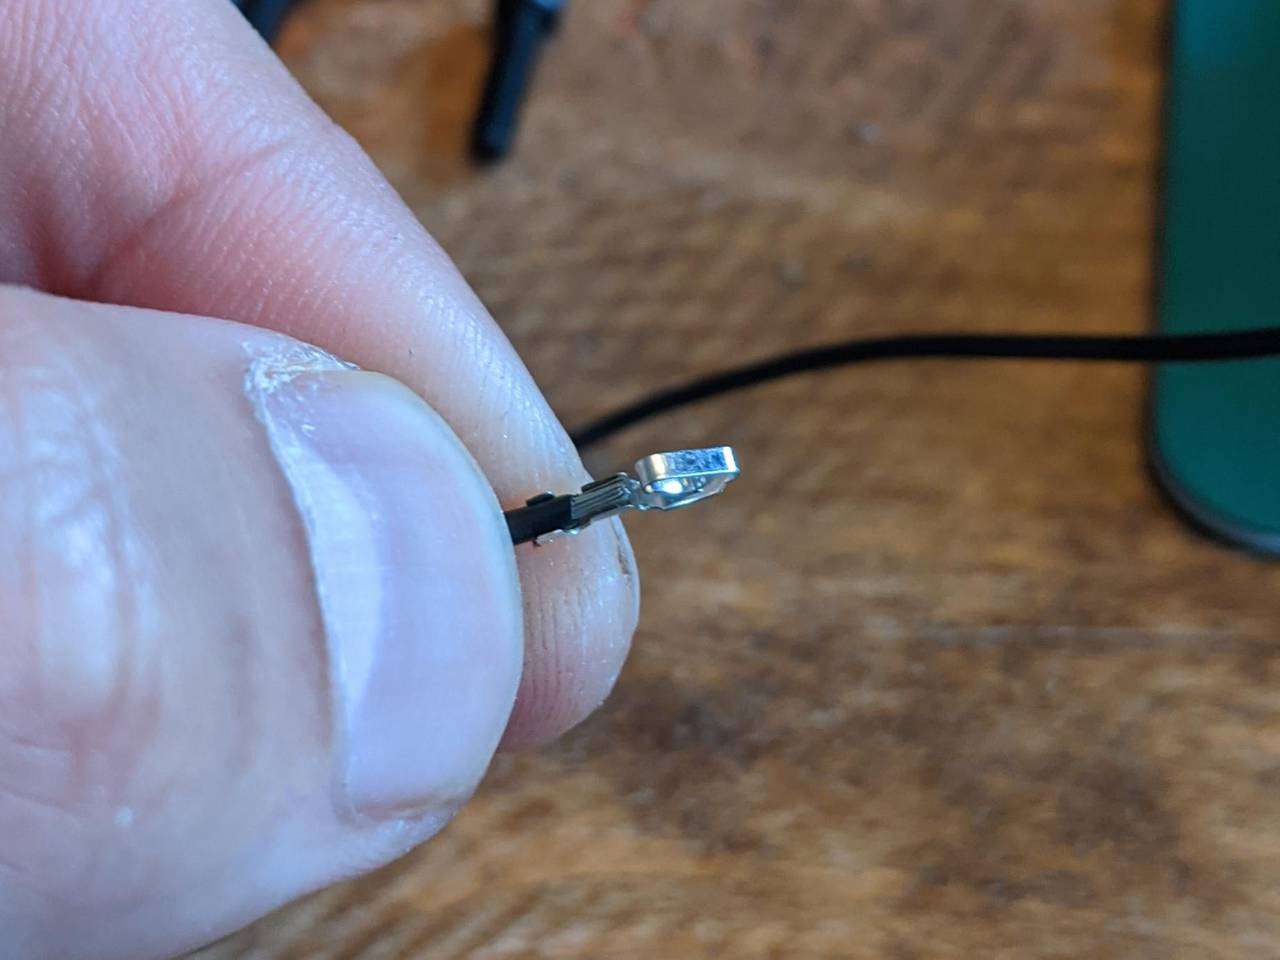
You remember how I said I just pulled the original wires out of the connector? Well this happened on one of them. I pulled the original wire up and the terminal came with it.
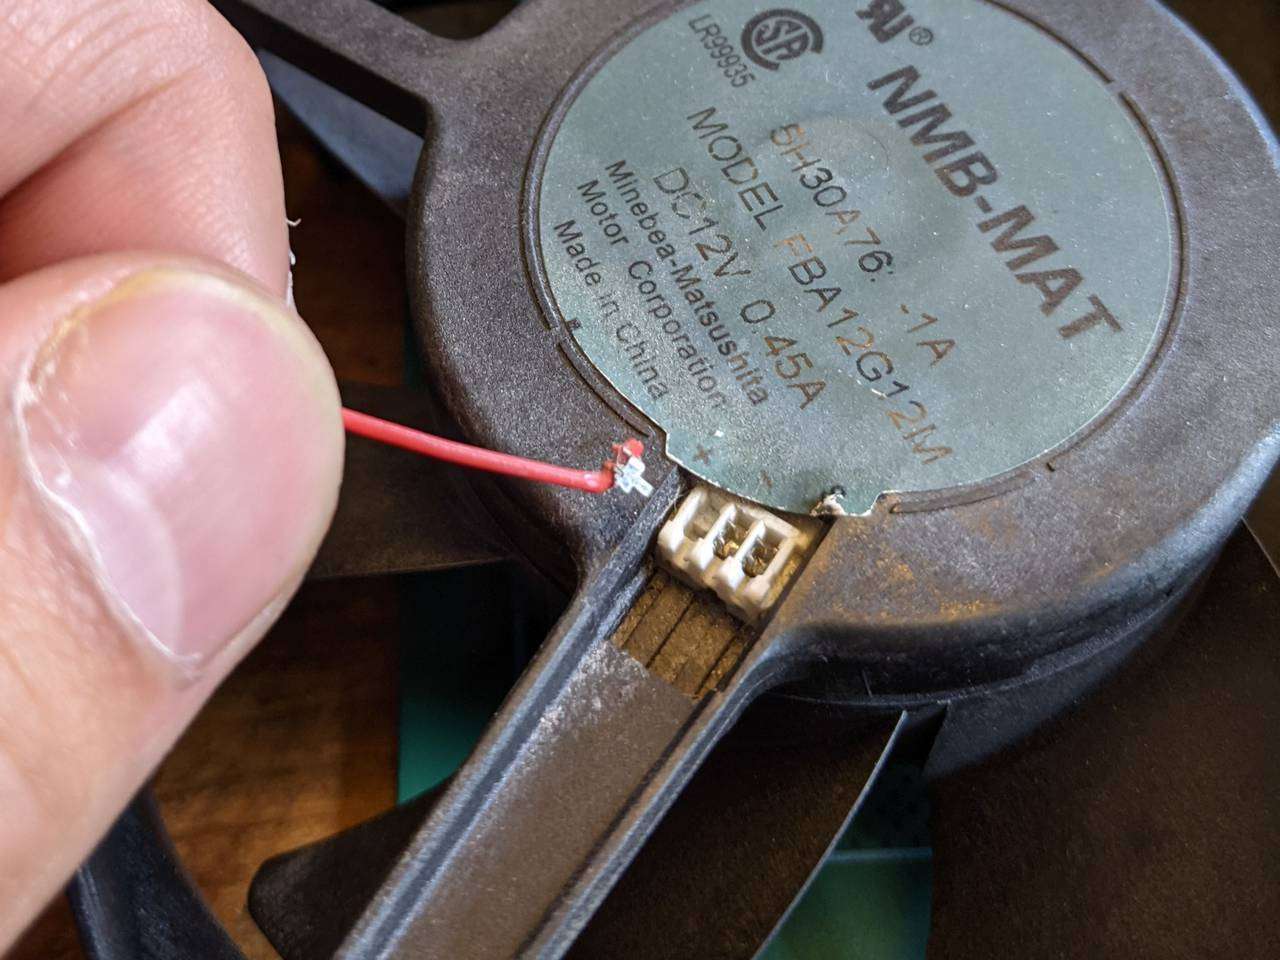
I’m not really sure if the terminal can be put back in when this happens, so I didn’t attempt to re-use it, and fortunately I had two spare fans so I didn’t have to order replacement connectors. If you are rewiring your Panaflo fans and this happens to you, you could order some replacement connectors (manufacturer and part number mentioned above).
All done

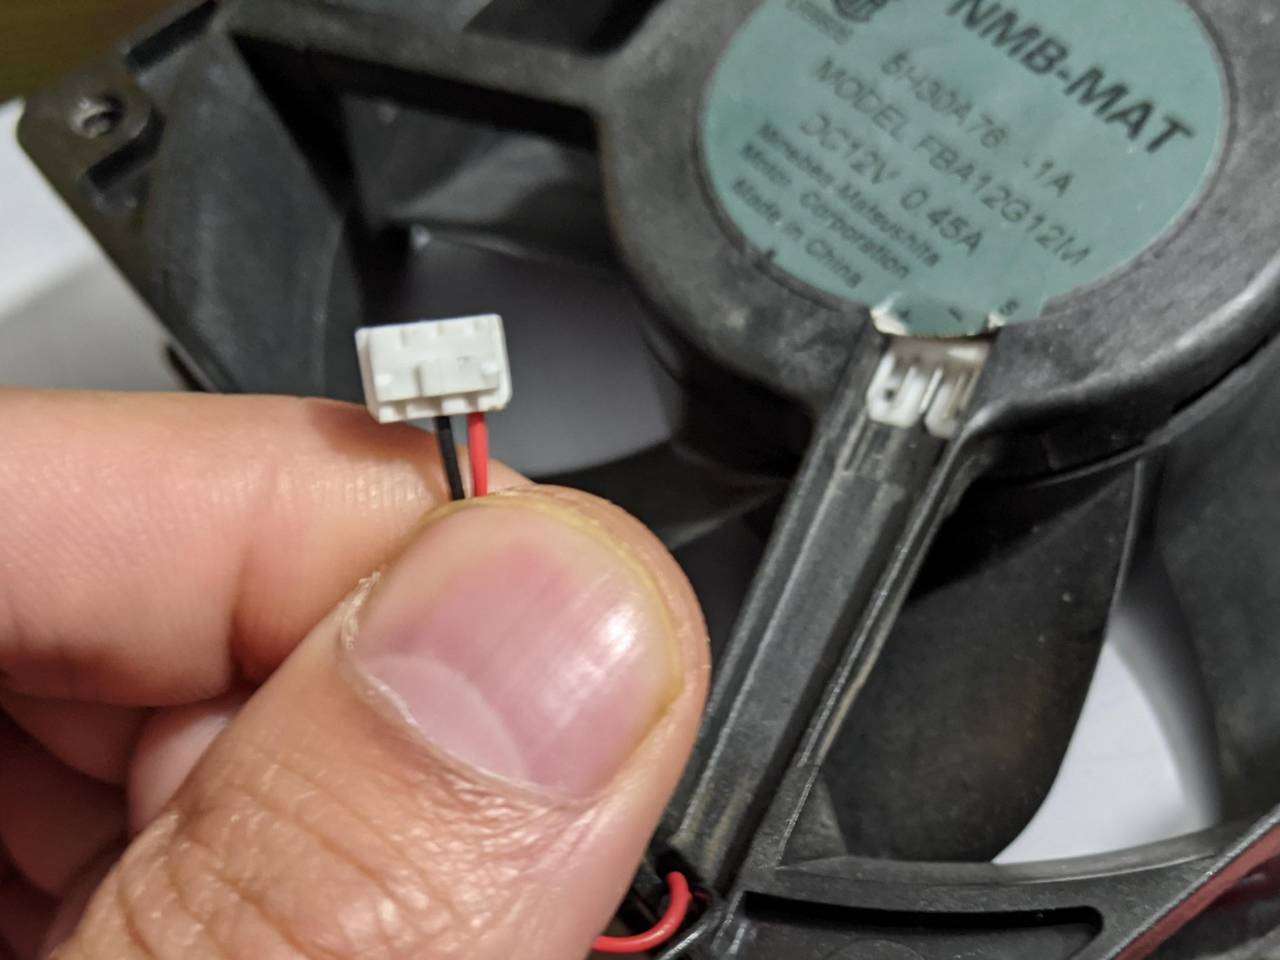
I had plenty of wire and sleeving so I decided to make two fans have 30cm cables, and then added on additional length (~13.5cm) to the next two, and again for the next two. This means that the fan cables all meet up at the 3-pin connector end when draped to one end of the radiator.
You’ll see how this works in practise in an upcoming update in this PC build work log :)