


I’ll be reusing an old Thermochill PA120.3 (triple 120mm) radiator for my new PC build and used to have it installed with a factory-made neoprene gasket. This provided both sound isolation from the fan vibrations and also acted as a mini shroud to reduce the fan centre dead spots and prevent air from escaping between the fans. I wanted to make another of these neoprene gaskets for the other side of the radiator, as I’ll be installing six fans in push-pull configuration, as well as another gasket to isolate the fans from the case.
The new build will also have a new EK CoolStream CE 420 (triple 140mm) radiator, so I wanted to create a set of gaskets for the same sound isolation and shrouding/sealing benefits.
I bought a 1m x 1m x 5mm piece of closed cell self-adhesive polyethylene waterproof insulating foam sheet from eBay to easily provide enough material to create all the gaskets.
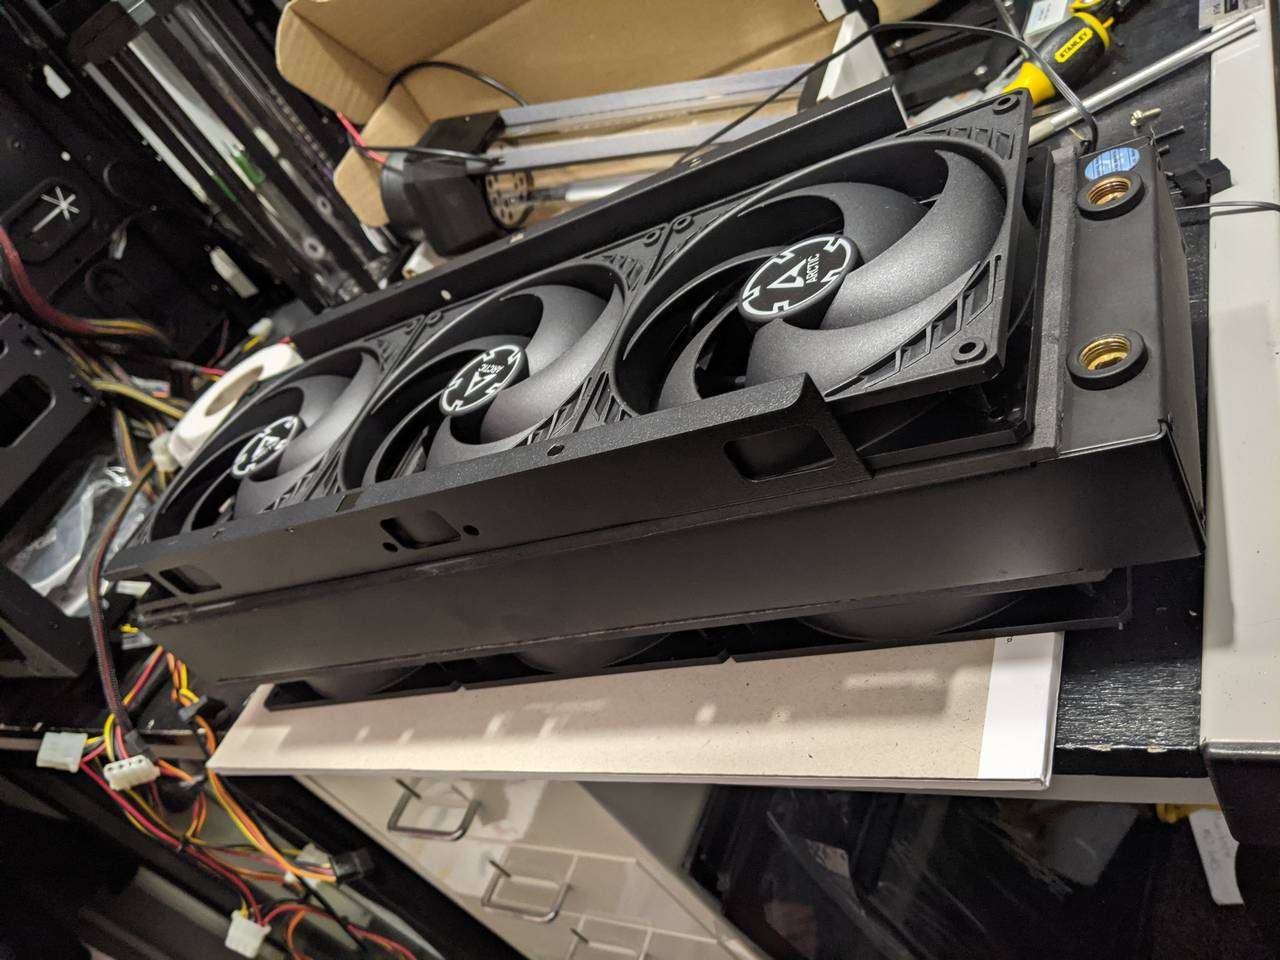
EK CoolStream CE420 gaskets
You can see the gaskets cut out of the foam sheet in the picture above. The 140mm fans butt up next to each other on the CE 420, as seems to be the modern design convention, so it was fairly easy to draw out a suitable template. The cutting was a bit tricky, but I managed ok with a scalpel blade and metal ruler. I used a leather hole punch for the fan screw holes.

Rather than attempt to free-hand apply the gasket to the radiator, I used the long radiator screws to ensure all the screw holes in the gasket lined up with the threaded holes in the radiator, and squared the gasket up to look nice and straight around the edges.
After applying gaskets to both sides of the radiator, I did consider making a third gasket to isolate the fans from the radiator bracket, but decided that since the Arctic P14 PWM PST fans are touted as very low vibration it would be overkill and unnecessary.
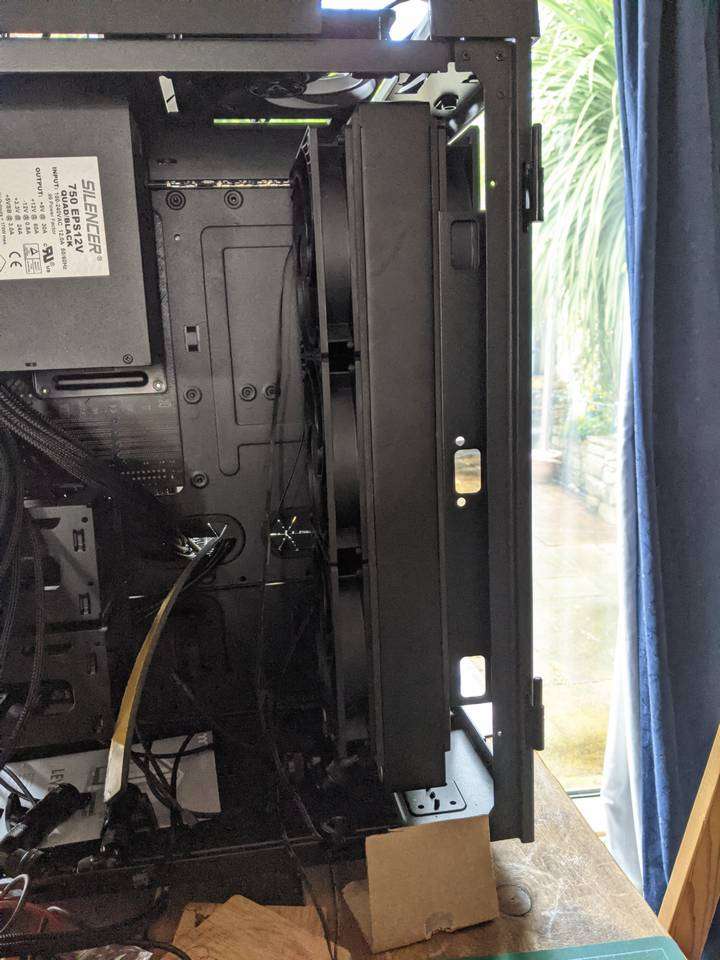
This rear section of the Thermaltake Level 20 HT case is only supposed to support 240mm and 360mm radiators, but a 420mm radiator will fit fairly comfortably. I test fitted the radiator to the bracket (that has slotted screw holes allowing vertical adjustment) to get the best balance of exhaust clearance above and tubing space below.
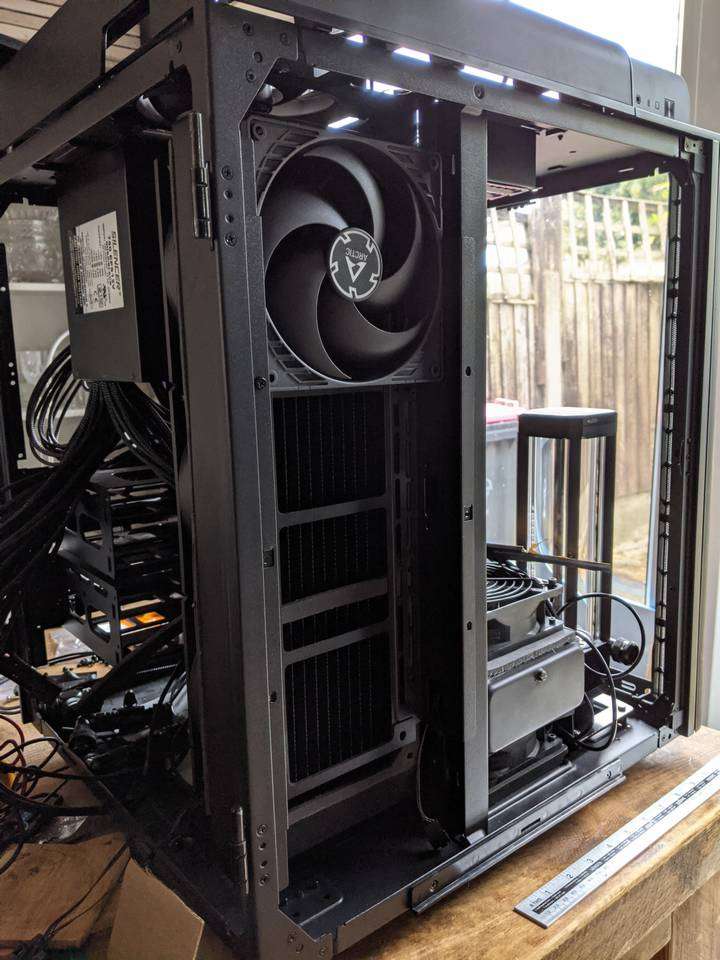
Getting the screws in for these outer fans is a bit tricky because of how the fans are butted up next to each other and inside the bracket. It means that some of the screws have to be installed “blind” so I was glad that I chose hex head screws rather than philips/pozidrive as it meant the allen key could hold the screw while feeling for the threads with the fan frames blocking the view.
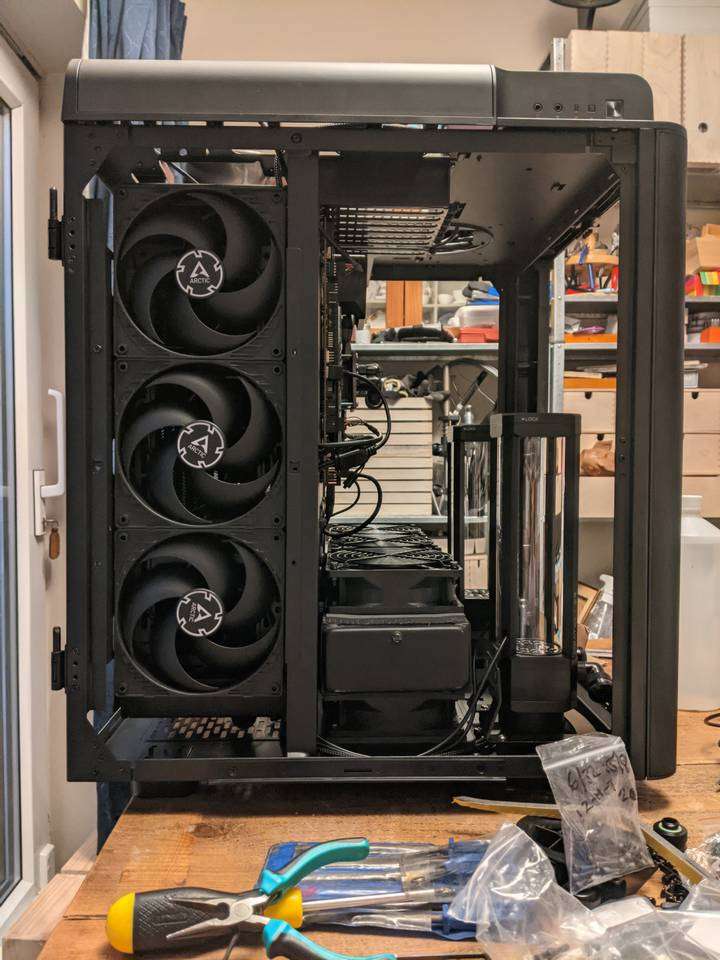
With all the fans installed you don’t see much of the gaskets from the side (that has an all-glass panel), so it looks nice and neat.
Thermochill PA120.3 gaskets
The PA120.3 is an old radiator and pre-dates the convention to butt the fans up next to each other, so there is a gap between each of the 120mm fans. The gasket’s shrouding purpose is more important for the PA120.3 compared to the CE 420, so the gaskets provide material to fill the gap and prevent air blow-back which would reduce the airflow through the radiator.
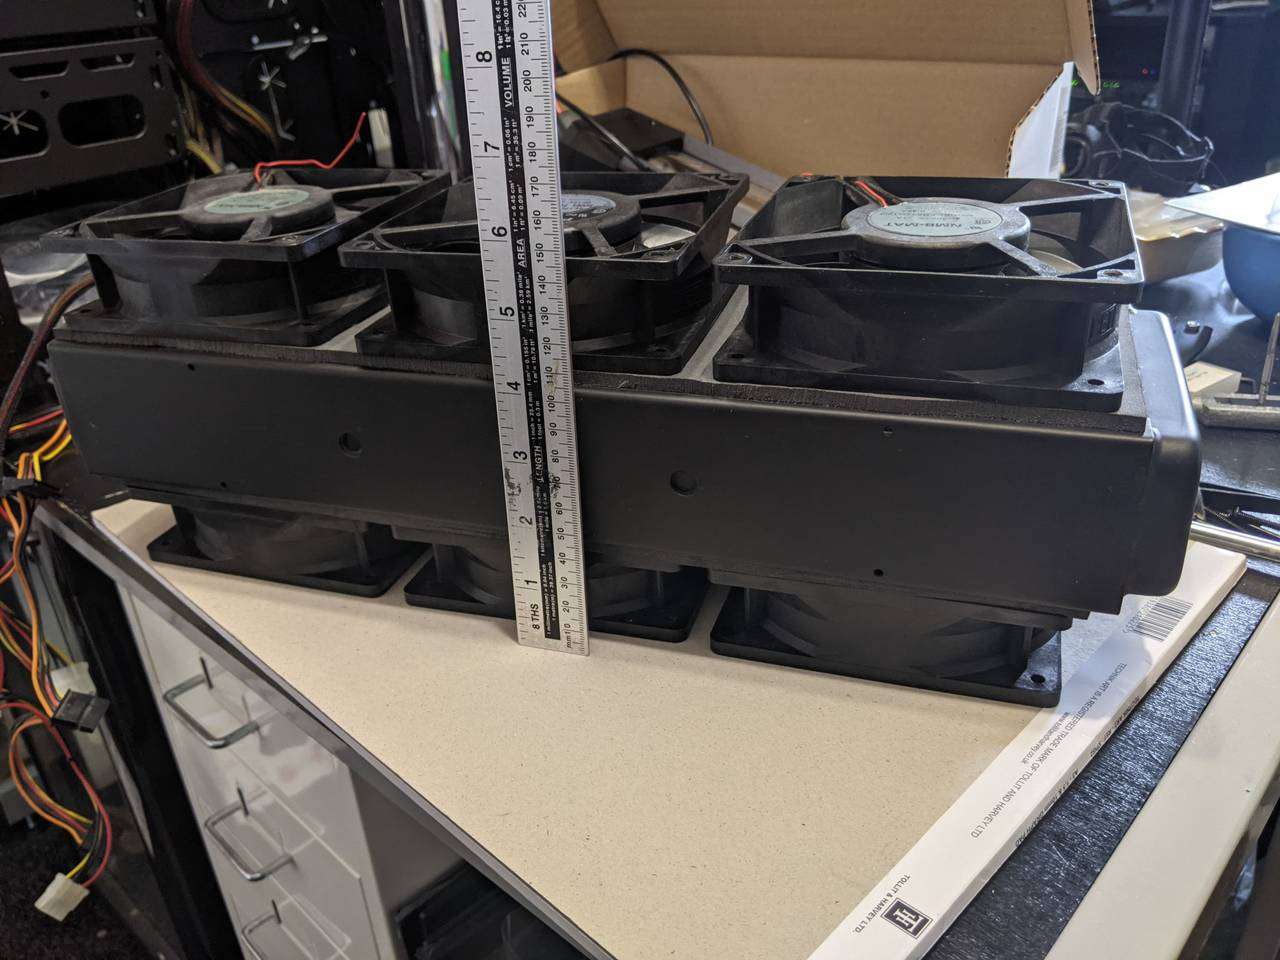
This radiator already had its original gasket applied, so I just had to replicate the shape of the original for the other side. With 38mm thick fans and gaskets, it’s quite a fat sandwich!

The bracket for the front radiator, upon which the PA120.3 will be installed, is designed for the modern 360mm radiators with the fans butted up next to each other. This meant that two fan screws had to hold on with the washer and nut, and four screw holes had to be drilled. It was a bit of a faff, but doable. With the screw holes cut, I could make another gasket to be applied to the bracket.
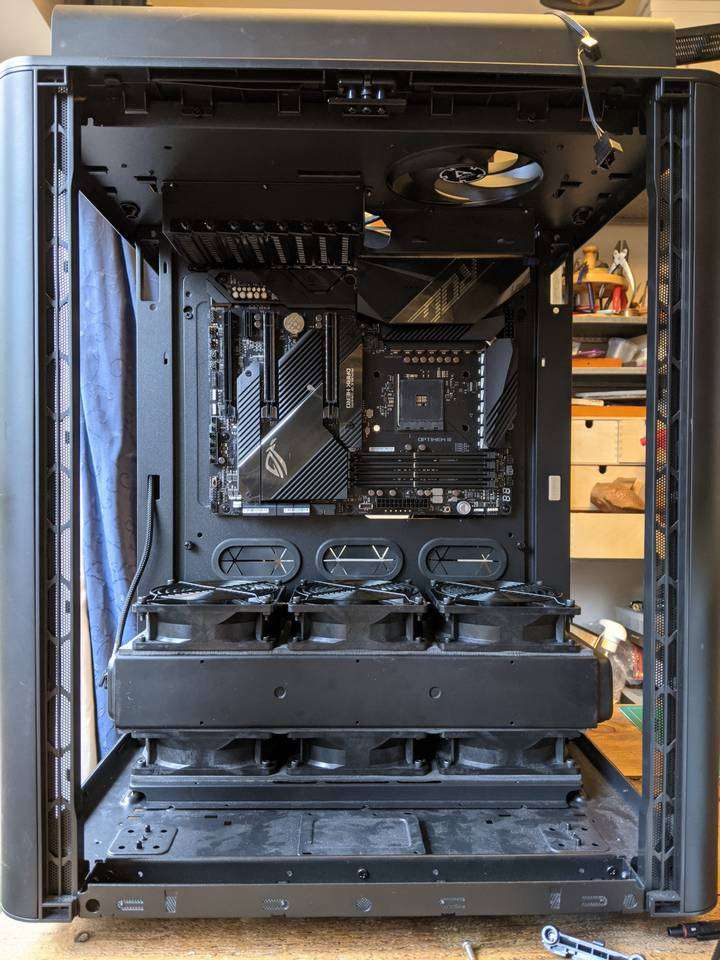
I test fitted the stack of bracket, gaskets, fans, radiator and fan grills, and even though it’s a thick sandwich, there’s still access to the cable pass-through grommets and space for a graphics card up to 305mm long. There are some cards that exceed this length with their stock air-cooling, but I’ll be water cooling the graphics card which means that it will be less than 305mm whichever card I end up getting.
I’m happy with how the gaskets look for this front radiator, and the sealing and slight shrouding will ensure good performance too.
This was one of the many fiddly bits I had to do for this PC build, stay tuned for more updates coming soon!
Product Links
You can support this website by purchasing items via the following Amazon Associate links.